GET A FREE QUOTE TODAY - CALL US 843-870-8368


8 Ways To Prepare Your Home for a Flawless Paint Job
Are you planning to repaint your home? But before you dive into the vibrant world of colors and brushes, preparation is key. Here are eight simple steps to ensure your home is all set for that flawless paint job:
1. Declutter Your Space:
First things first, clear the decks! Move your furniture to the center of the room and cover it with old sheets or plastic. Remove wall hangings, switch plates, and outlet covers. This ensures your belongings remain paint-free and gives you more space to move freely while painting.
2. Clean the Walls:
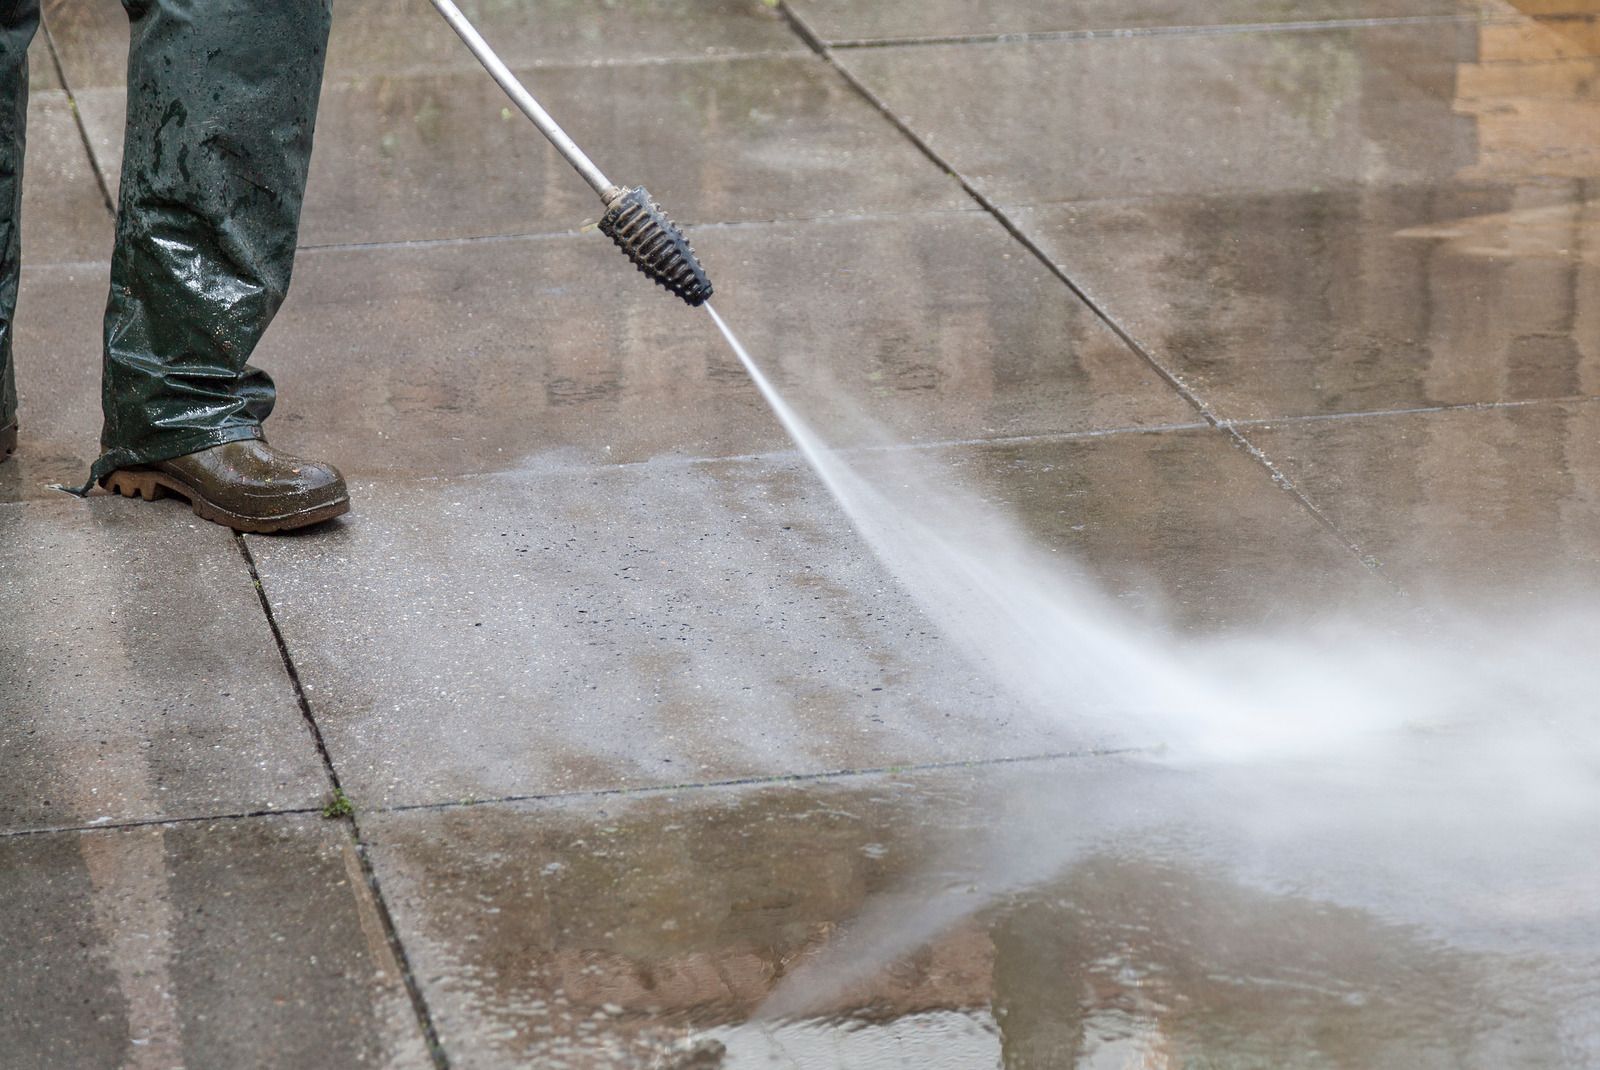
Dirty walls can lead to a bumpy and uneven paint job. Dust and dirt can mix with the paint, leading to a less-than-perfect finish. Simply wipe down your walls with a cloth or sponge and mild detergent. For kitchen spaces where grease buildup is expected, a degreasing solution can be handy. Once done, rinse the walls with clean water and let them dry completely.
3. Patch and Smooth:
Over time, our walls endure their fair share of dings, holes, and cracks. Now’s the time to patch them up! Fill small holes with spackling paste and larger ones with joint compound. Once it’s dry, sand the patched areas smooth. This ensures a flat and smooth surface for the paint to adhere to.
4. Tackle the Trim:
If you’re painting your trim, give it a good clean. It's surprising how much dust and dirt can collect on these little ledges. Sanding the trim lightly can also help the paint stick better. Just remember to wipe away the dust afterward!
5. Tape is Your Friend:
Professional-looking paint jobs have crisp, clean edges. This is where painter's tape comes in. Place tape along the trim, around windows and doors, and on any area you don’t want to be painted. Press it down well to prevent any paint from seeping under.
6. Prime Time:
Think of primer as the undercoat of your paint job. Especially if you're painting over a dark color or bare wood, a primer helps cover the old color and ensures the new paint looks vibrant and lasts longer. It can also help conceal stains and marks on the wall. So, roll or brush on a coat of primer and let it dry thoroughly.
7. Choose the Right Tools:
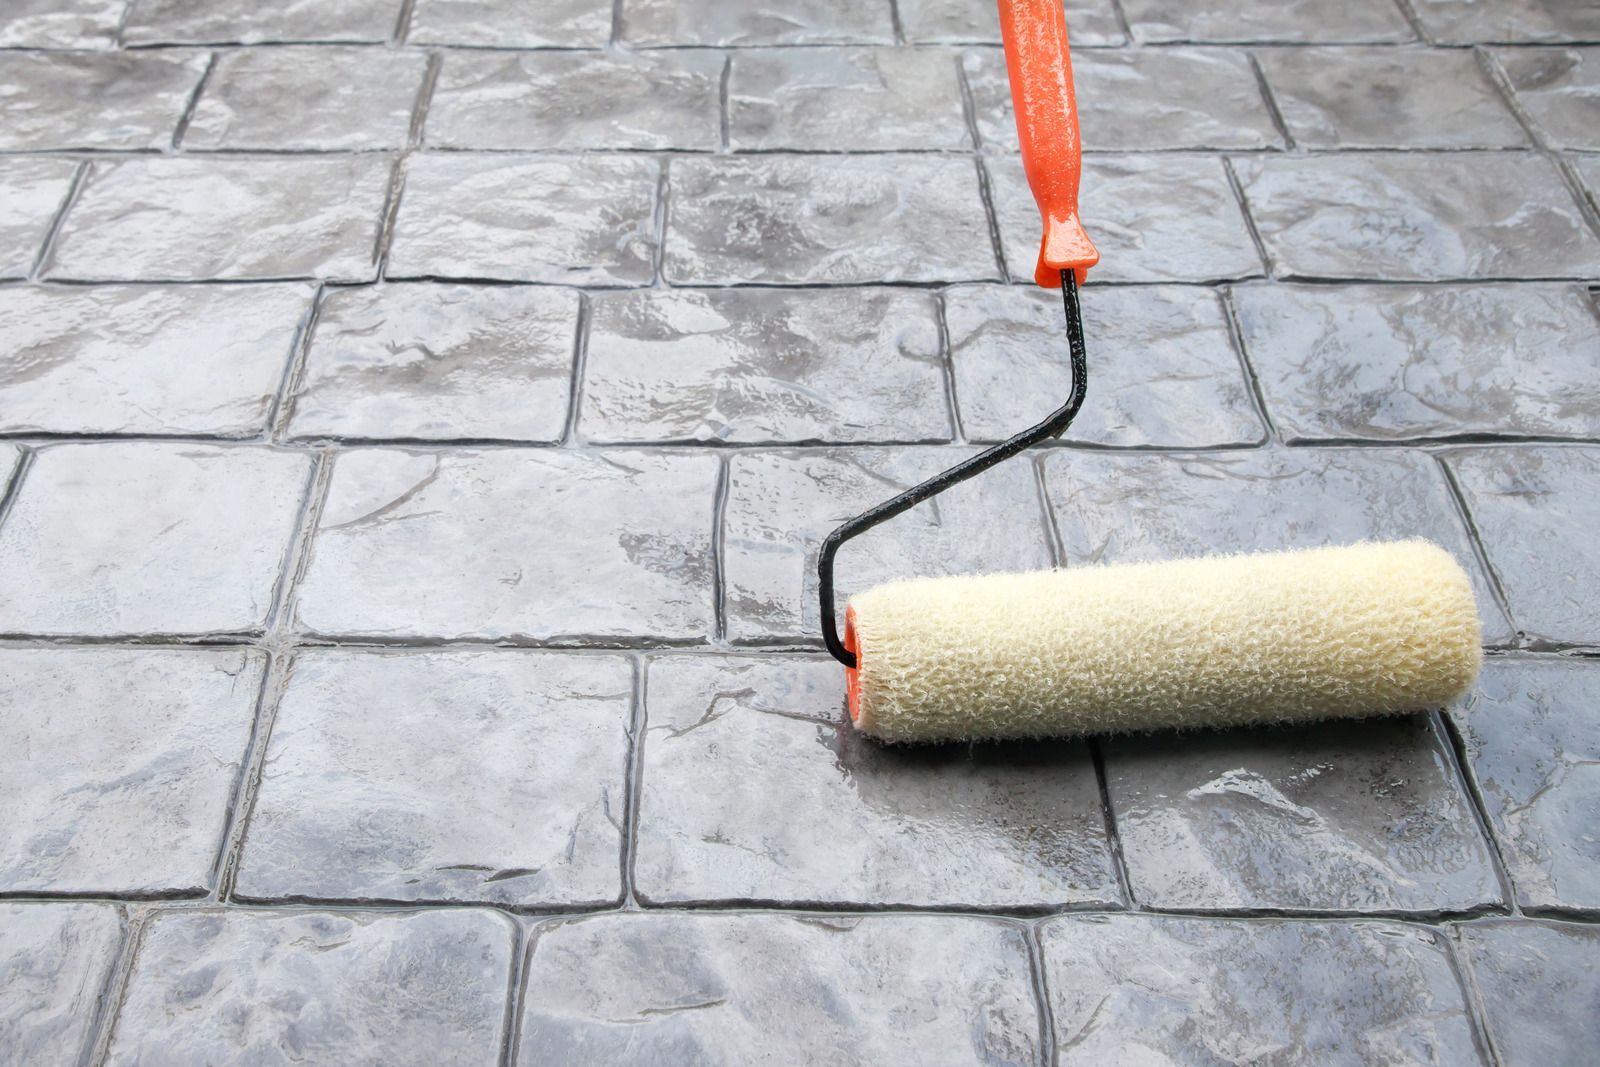
Not all paintbrushes and rollers are created equal. For smooth surfaces, go for a roller with a short nap. If your walls are a bit textured, a thicker nap can get into those nooks and crannies. Brushes come in various sizes and shapes. Generally, angled brushes work best for edges and trim, while wider brushes are great for larger wall spaces.
8. Plan Your Approach:
Start at the top and work your way down. It's easier to catch and correct drips this way. Begin with the ceiling if you're painting it. Then, tackle the walls. Remember to paint one wall at a time, moving from the trim to the main part of the wall.
In conclusion, while it's tempting to dive into painting immediately, the time you spend preparing can make all the difference. These simple steps can ensure your home is paint-ready, and the next step would be to hire a
professional painting company such as Preferred Quality Painting, LLC
so that they can take care of the painting job professionally.


Quick Links
Services
Business Hours
- Mon - Fri
- -
- Sat - Sun
- Closed